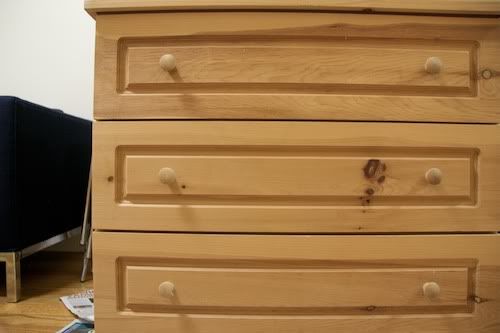
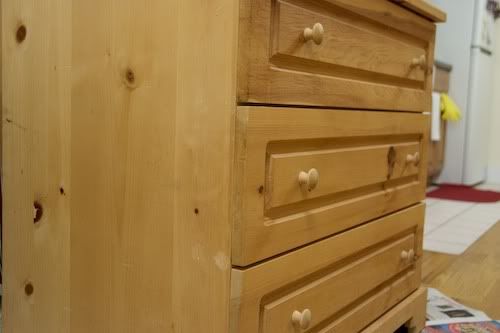
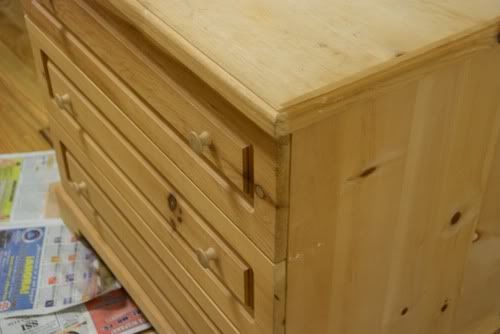
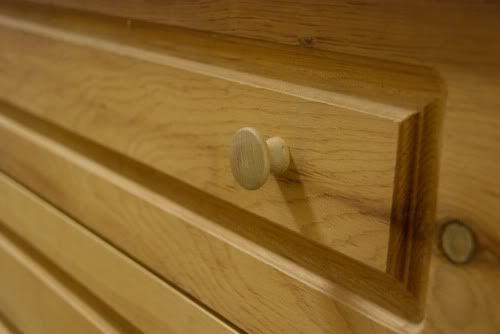
Showing posts with label project. Show all posts

March 10, 2010

project: faux antique dresser

last summer i moved into my new apartment in the city and acquired a lovely unfinished wooden dresser from my cousin. she had owned it for many many years before me and had good intentions of painting and finishing it but never got around to it. my plan was to transform this into a faux antique dresser for my room. i did some research on faux antique finishes and to my surprise there were many ways one could distress a piece of furniture. it ranged from applying special crackle paint to whacking it a bit with heavy metal objects. here are some before and after photos of my dresser and step-by-step instructions on how i achieved my antique look.

before:


supplies:
some wide nylon / synthetic brushes
1 large piece of fine-grain sandpaper
1 large piece of medium-grain sandpaper
various rags and cloths
1 large bowl
small can of white primer (i used a latex-based primer)
small can white semi-gloss paint
small bottle of brown acrylic paint
small can of paste wax
  • with the fine-grain sandpaper, sand down the wood until smooth and wipe away the dust with a damp towel. let dry completely.
  • apply 1 coat of primer onto the wood with a paint brush, just as you would with paint, and let it dry for at least 4 hours.
  • before you apply the paint, lightly sand down the primer with the fine sandpaper until smooth. wipe away dust with a damp towel.
  • apply 1 coat of white paint and let dry overnight.
  • before applying the second coat of paint, lightly sand down the paint with the fine-grain sandpaper again until smooth. wipe away dust with a damp towel.
  • apply another coat of white paint and let dry overnight.
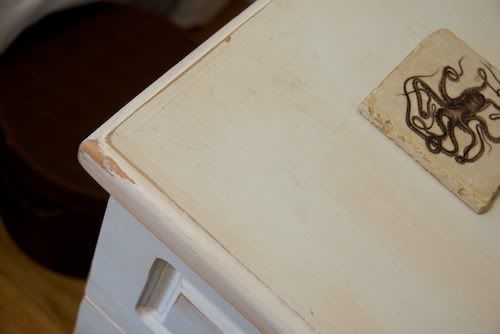
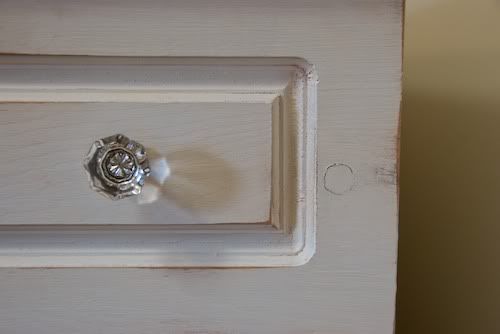
  • with a piece of medium-grain sandpaper, distress corners, edges and sections of the furniture until the wood from underneath the paint is exposed. wipe away dust with a damp towel.
  • in a large bowl, squeeze out a quarter-sized dollop of brown (e.g. - burnt sienna) acrylic paint and dilute it with a couple cups of water.
  • dip a cotton rag into the solution and squeeze out the excess before applying it to the dresser. this step discolors the white paint a bit to make it look more distressed. it also darkens some of the exposed wood. let it dry completely for an hour.
  • finish the dresser with 1 coat of wax paste. apply the paste with a cloth and let dry for 10 to 15 minutes before buffing. this adds protection and a hint of sheen to your finished piece.
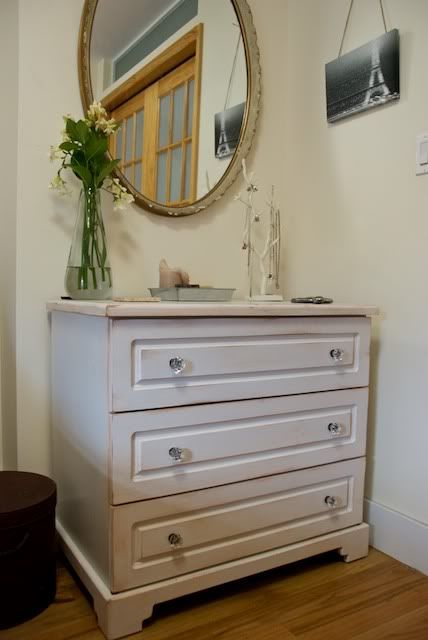
after:


July 20, 2009

project: star crossed slouchy beret


i've been working on a long-term scarf project for about 6 months now and started on this instant gratification knit to give myself a break. currently, hats are the only 3-dimensional wearables that i can knit, as i'm still learning more intermediate skills. it's a shame that i missed out on a sweater class last year offered for fairly cheap through UT's informal classes. lessons in new york are quite pricy so i've mostly stuck to simple projects like scarves and hats. anyway, i'd been itching to make a hat that was neither beanie nor cap - something chic and casual looking but without the kitsch. this led me to think about the french - because who knows chic and casual better than them? perhaps a beret or cloche? both styles definitely embody that french 'chic-ness'.


some months back, i stumbled upon this popular beret pattern on ravelry and immediately gravitated towards the slouchy shape and star motif, which is exactly what makes this hat casual. to add to the leisurely feel, i decided on a rustic gray tweed which i purchased at hill country weavers in austin before i moved. it was a project-in-queue for a while until last week. i was able to complete this quick knit in less than a week and am rather pleased with the way it turned out. alas, i must wait until cooler weather arrives but luckily with the way this summer is going in new york autumn will be here in no time.